PCB Board Repair Steps for Set-Top Box
Printed circuit board (PCB) board repair is a complex process that requires careful attention to detail. If you need to repair the PCB in your set-top box, here are the steps to follow:
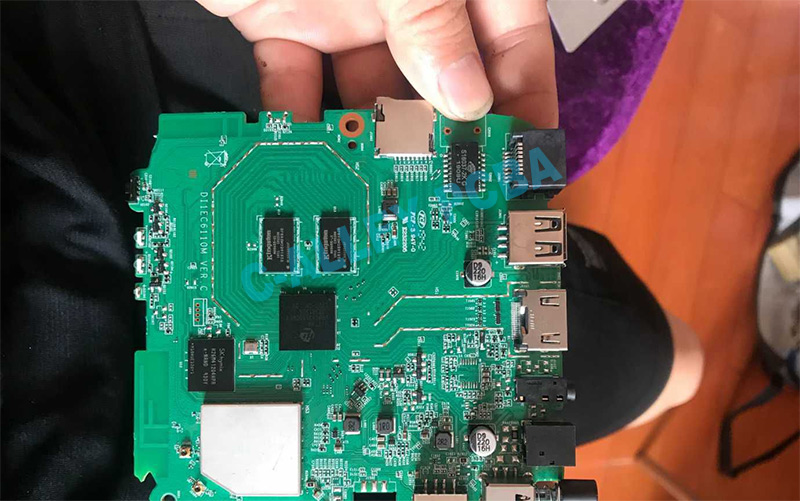
Step 1: Identify the problem – Before you begin any repair work, you need to identify the issue with the PCB. This can be done by using a multimeter to test for continuity and checking for any burnt or damaged components on the board.
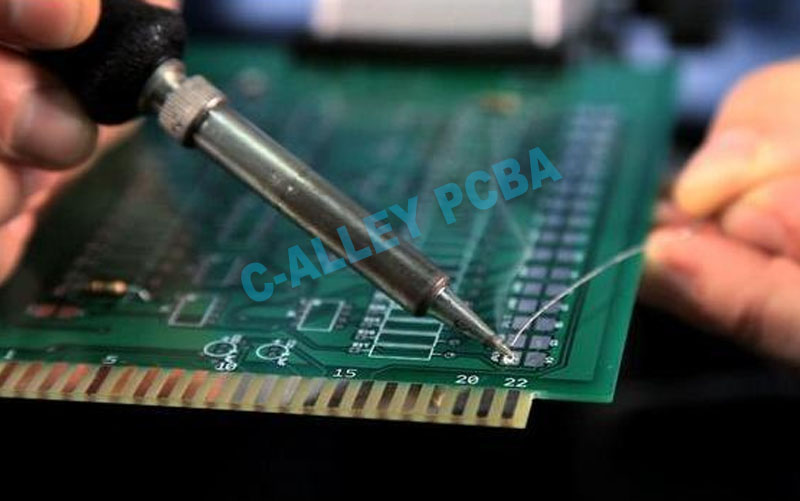
Step 2: Remove damaged components – Once you have identified any damaged components, it is essential to remove them from the board. A soldering iron and desoldering pump can be used to remove the component without damaging the PCB.
Step 3: Test replacement components – If you need to replace any components, you should test them first to ensure they are working correctly. Using a multimeter, you can check for continuity and resistance in the new component.
Step 4: Solder new components – Once you have removed the damaged components and tested new ones, it’s time to solder the new components onto the PCB. It is important to be careful when soldering, as excessive heat or excess solder can damage the PCB.
Step 5: Test the repaired PCB – After you have soldered the new components onto the PCB, you should test the board again using a multimeter. This will help you to confirm that everything is working correctly and the repair has been successful.
In conclusion, repairing a PCB in a set-top box is a complex process that requires careful attention to detail. By following these steps, you can identify the problem, remove damaged components, test replacement components, solder new components onto the PCB, and test the repaired board to ensure everything is working correctly. If you are not confident in your abilities to repair the PCB, it’s best to seek professional help to avoid causing further damage to the board.


